VST Lighting Logo

Stair edge integration

Match your LED stair profile to the finished tread

Build a clear step-edge detail with a nosing section, covered light source and fixing arrangement that suit your staircase.
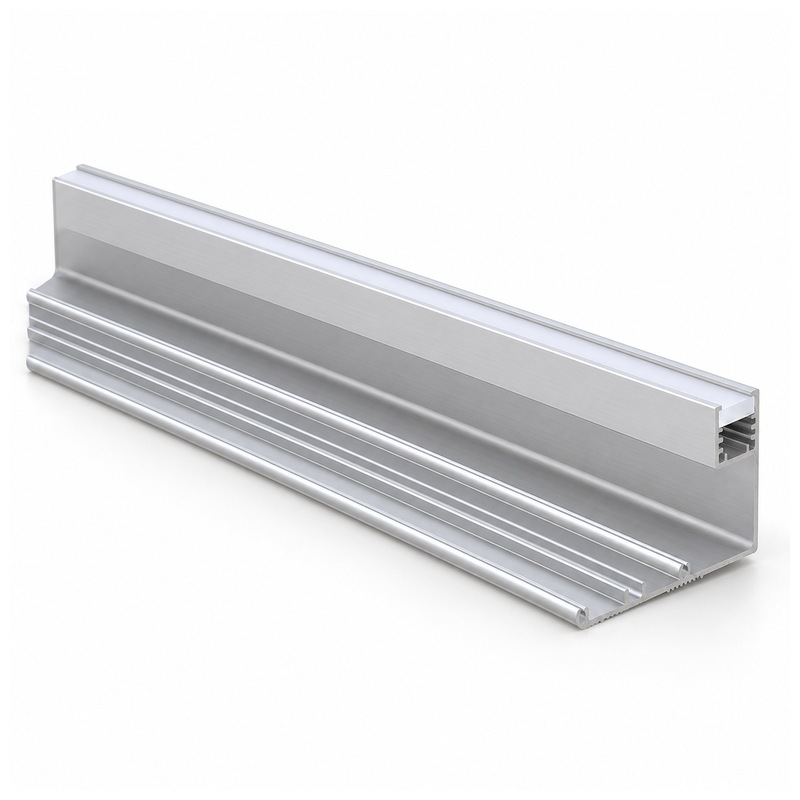
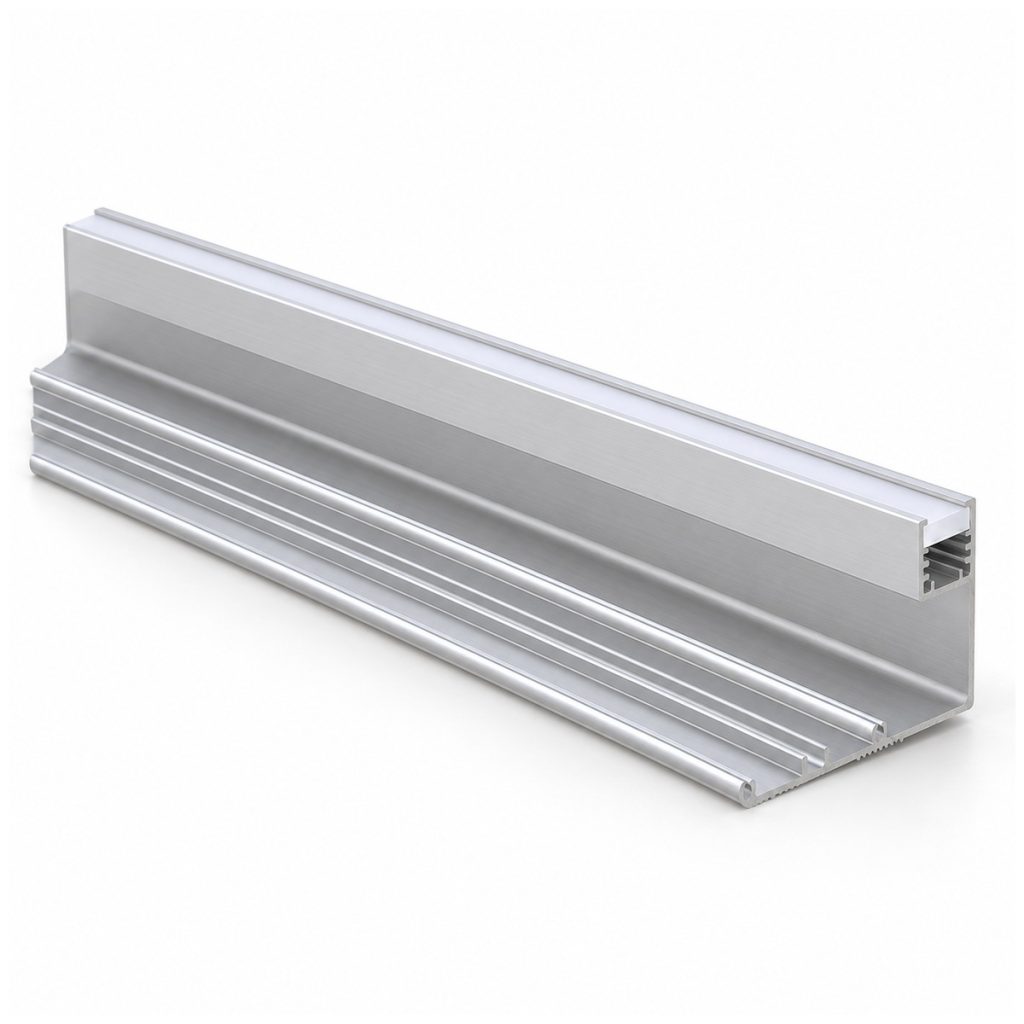
  • Compare three published ST constructions.
  • Check tread overlap and the lower light aperture together.
  • Plan concealed cables and accessible terminations.
  • VST supports section samples and cut-length schedules.

Start at the step edge

Choose the section from the finished tread

An LED stair profile holds a light channel at the front of a step. The section must fit the walking surface, riser and support as well as the strip.
Start with a section drawing through the finished tread, showing the covering thickness, edge shape and lower light opening. ST100 has a broad tread-facing section, while ST6528 and ST6935 have different front profiles. VST can discuss a representative sample before you finalize the cutting schedule. Slip resistance and emergency-lighting requirements need evidence for the completed system.
✓

Finished edge geometry

Include the tread covering in your sketch. A profile matched to the bare stair can sit proud after carpet, timber or tile is added.

✓

Visible source position

Check the diffuser from above and from the lower landing. A covered aperture should make the step edge readable without an intrusive direct view.

✓

Repeatable step lengths

Landings and turns can have different step widths. Number the cutting list so each extrusion arrives identified for its tread.

✓

Cable destination

Locate the strip supply and connection space before fixing the nosing. The connection should remain accessible without lifting the finished walking surface.
Project fit support

Try the edge detail on one finished tread

Check the chosen section against the construction detail during the sample trial.
✓

Tread drawing review

Our engineers can compare the ST drawing with your tread and riser. This reveals edge interference before you cut nosing for every step.

✓

A representative sample

Keep the selected section, cover and cable-access detail in one specification. VST can discuss a sample for checking that combination against your finished tread.

✓

Controlled finish selection

The visible nosing receives frequent contact. Compare the metal color and cover with your actual tread material so the finish choice reflects the assembled step.

✓

Length and packing coordination

Ask VST about a numbered cutting schedule and protected bundles. Clear length identification reduces sorting on site and the risk of fitting the wrong section.

✓

Lighting assembly discussion

If the order includes a strip and power supply, our lighting team can discuss their electrical requirements as a separate scope. A bare metal channel has no operating voltage.

Nosing construction

Stair nosing and floor channels have different mounting details

A stair nosing LED profile carries its lighting aperture at the tread edge, where the installation relationship is different from a flat floor recess.
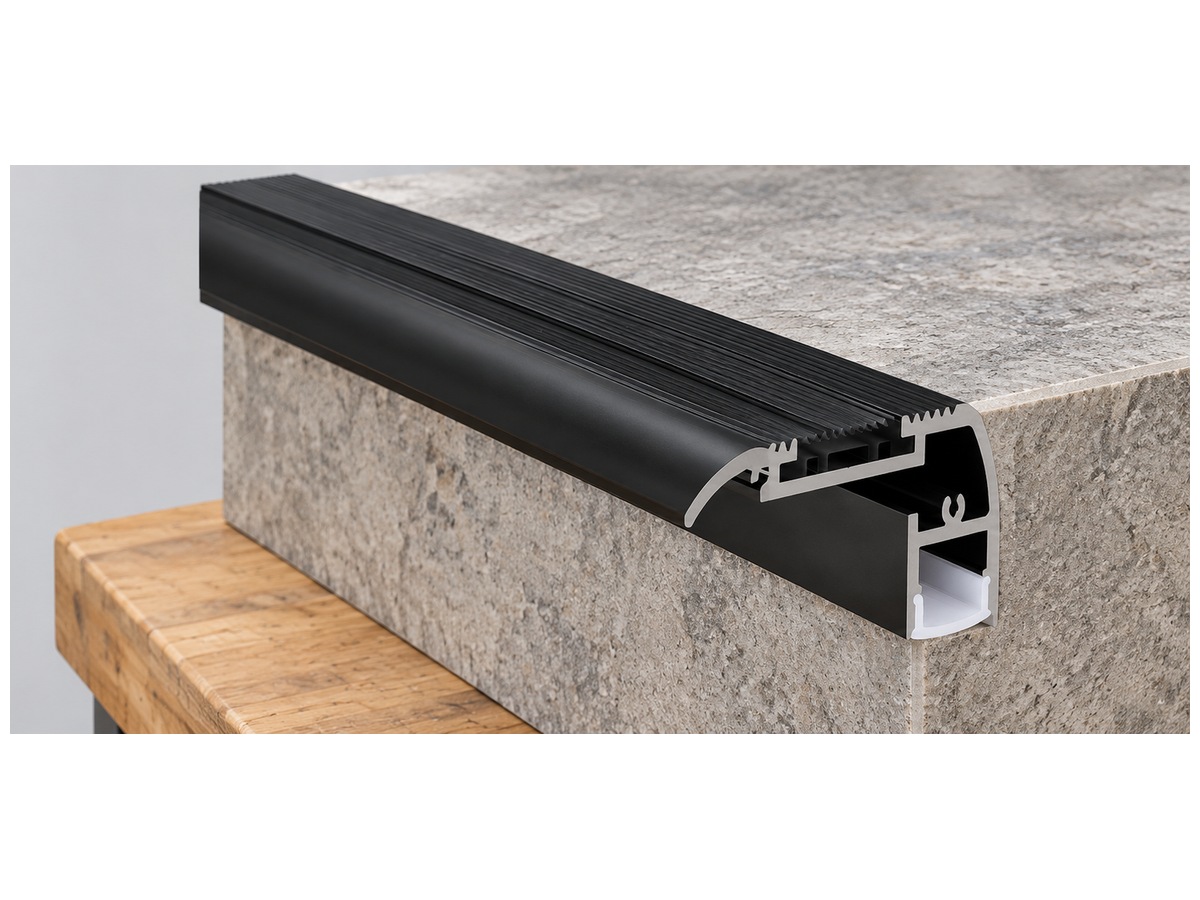
The upper face rests on the tread. A front or lower opening directs light toward the edge and riser. An LED stair profile needs the right overhang, support contact and cover position for that relationship. A similarly sized floor channel may not fit it. The ST range includes broad and deeper nosing forms. Ribs and inserts describe the construction; slip resistance, load limits and any claimed stair-code performance need applicable evidence for the chosen assembly.

Three ST sections

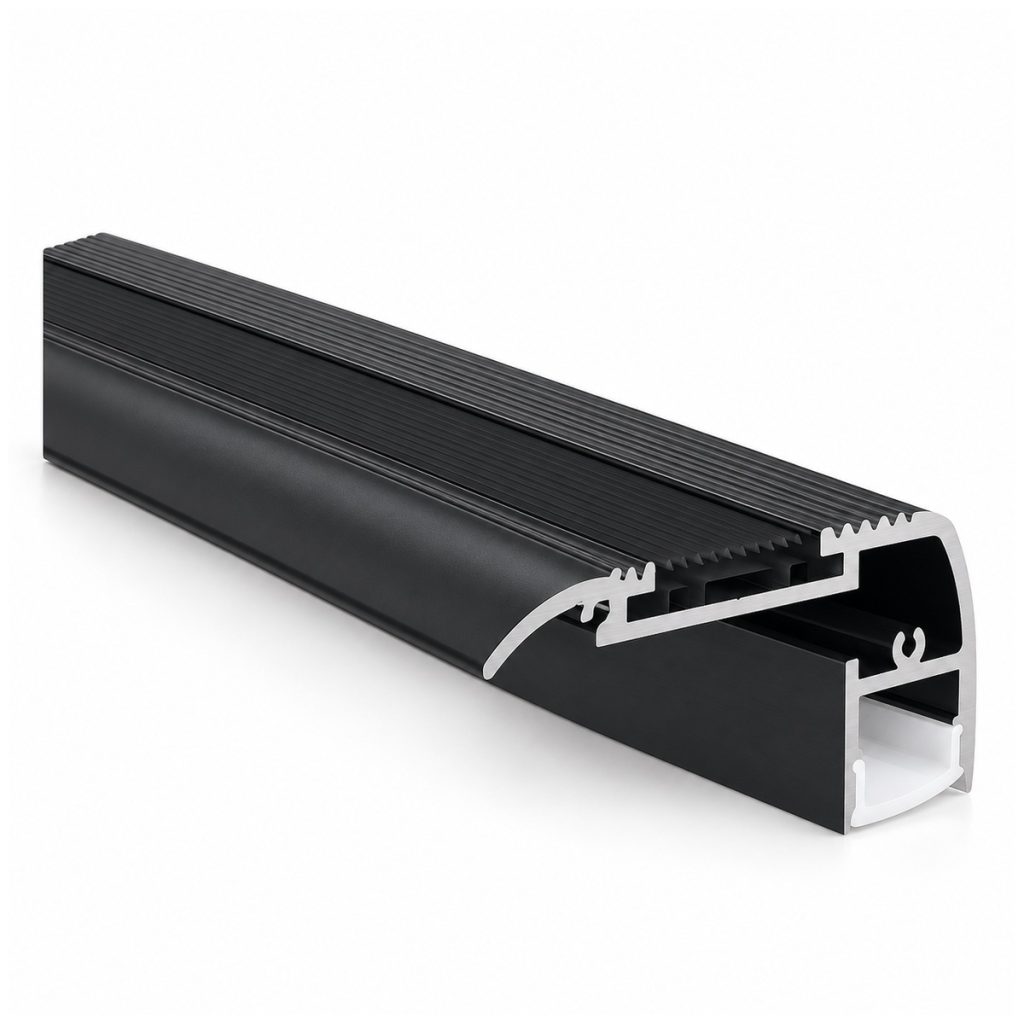
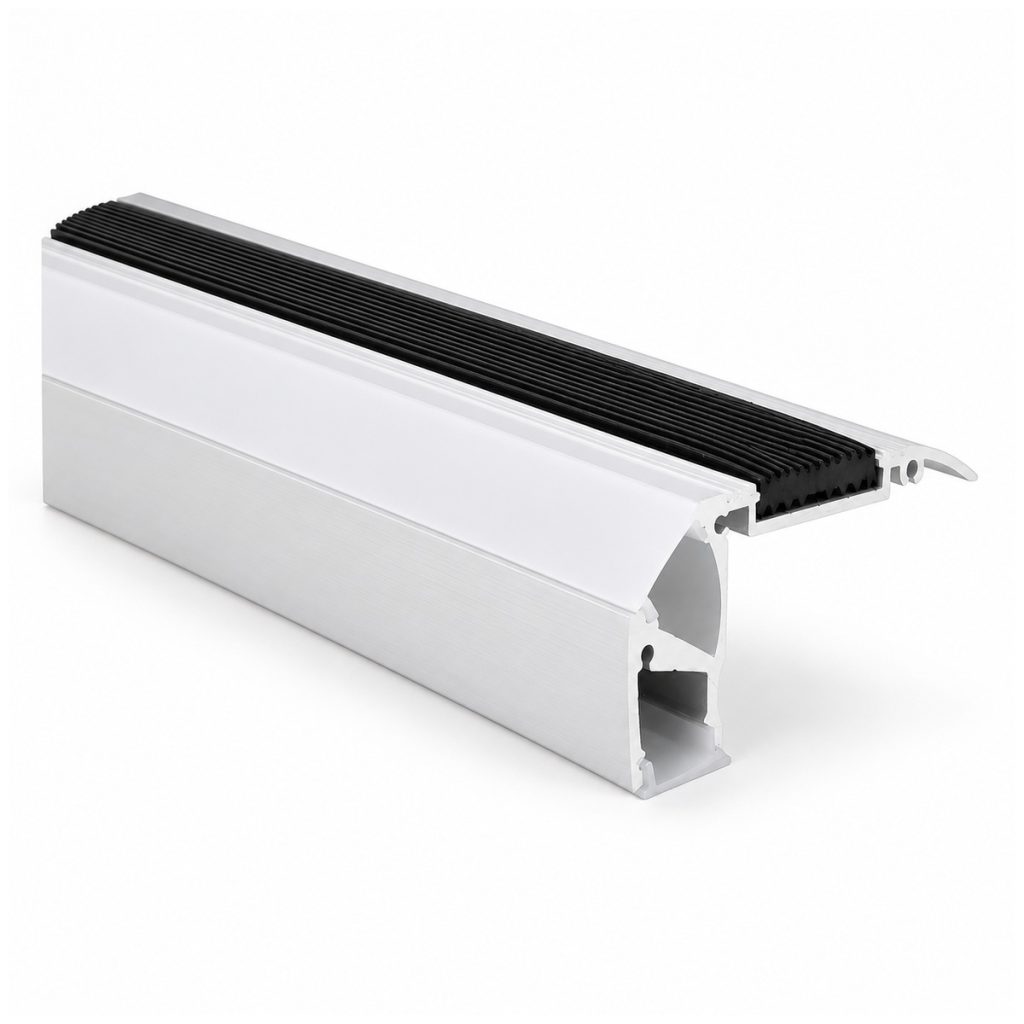
LED stair profile edge forms

Each LED stair profile below has its own tread footprint and light-channel proportions.

Construction checkpoints

Four checks for a coordinated step detail

VST can help match the section to your finished tread and project requirements.

Complete tread section

Check the upper overlap, front depth and lower aperture against the finished stair together. Width alone does not show whether the nosing will fit.

Covered light aperture

A fitted diffuser separates the strip from direct contact and changes source visibility. Check its seating and release direction at the assembled tread.

Cut schedule matching

Identify landing changes and handed cable exits on the cutting list. Ask about model-specific lengths and wiring exits for the full flight.
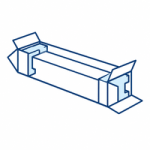
Separated step bundles

Protected and identified extrusion bundles make different step widths easier to organize on site. Agree the handling arrangement before dispatching long nosing sections.

Parts at the edge
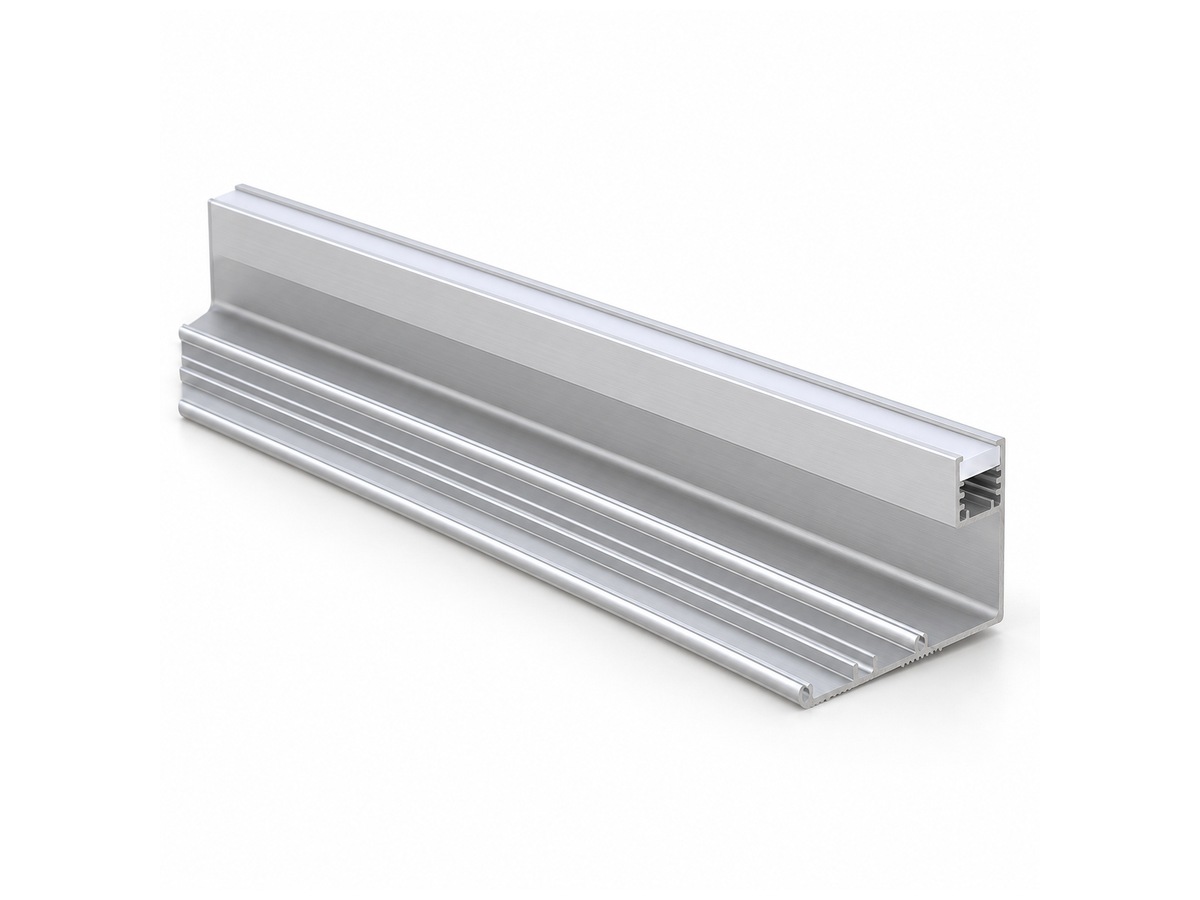
Nosing body, lower cover and tread insert

Keep the optical opening separate from the surface that meets the foot.
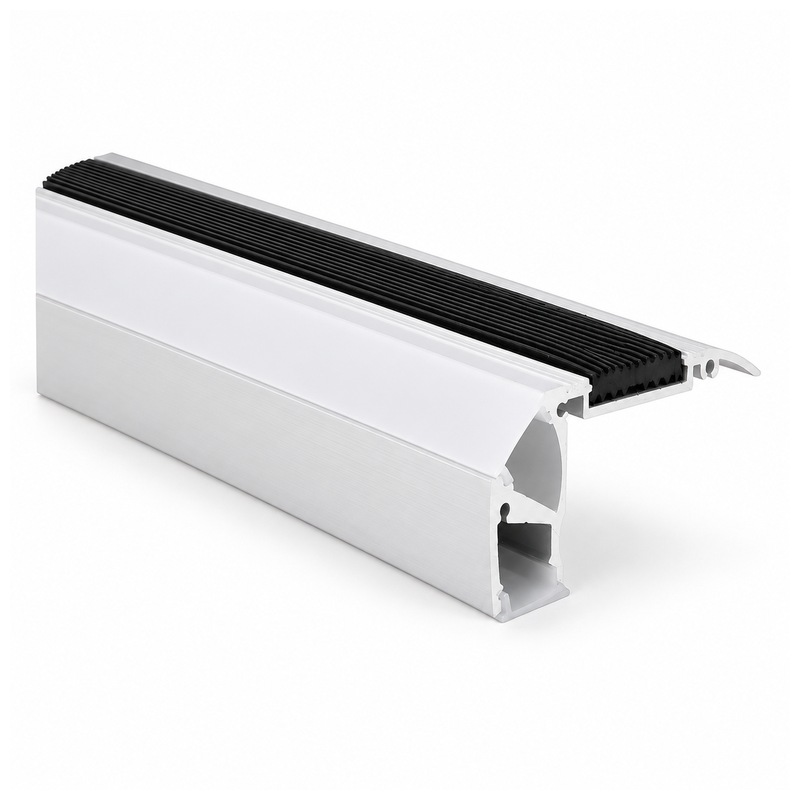
ST100 aluminum channel with fitted diffuser

Nosing extrusion

The aluminum body sets the aperture position relative to the tread. It needs contact with the stair support, with no unintended void beneath it. An LED stair profile can fit the upper width yet interfere with a thick riser or rounded front edge. Use the complete section drawing to check that fit. The dimensions do not establish fixing strength or the capacity of the finished staircase.

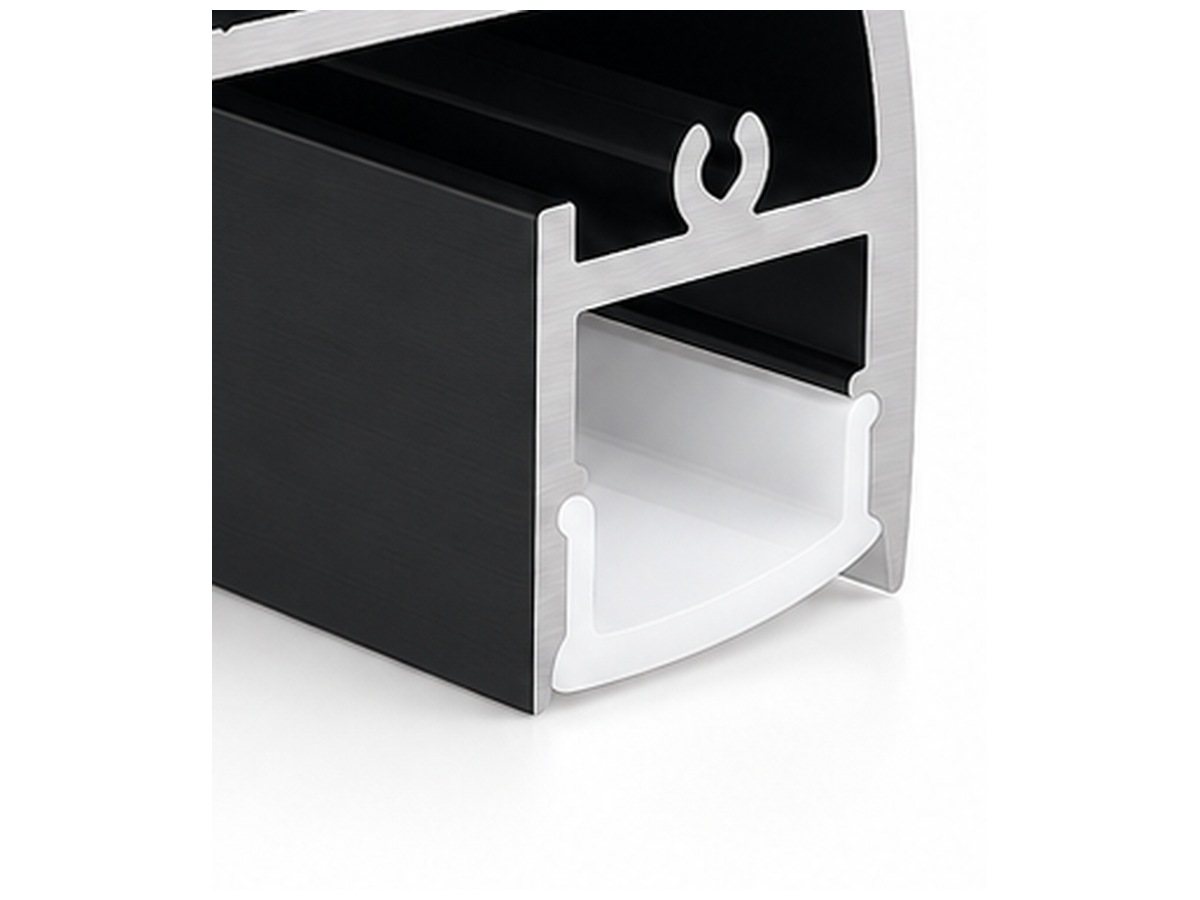
Lower diffuser

Illustration of the lower diffuser arrangement.

The lower diffuser encloses the strip and controls which part of the source you can see from the landing. Check that it seats correctly and clears the riser. You also need a release path after fixing the nosing, so the strip remains serviceable. Evaluate the selected strip and diffuser in the finished-tread mockup. Confirm any required illuminance and uniformity through the project's lighting calculation or measurement.
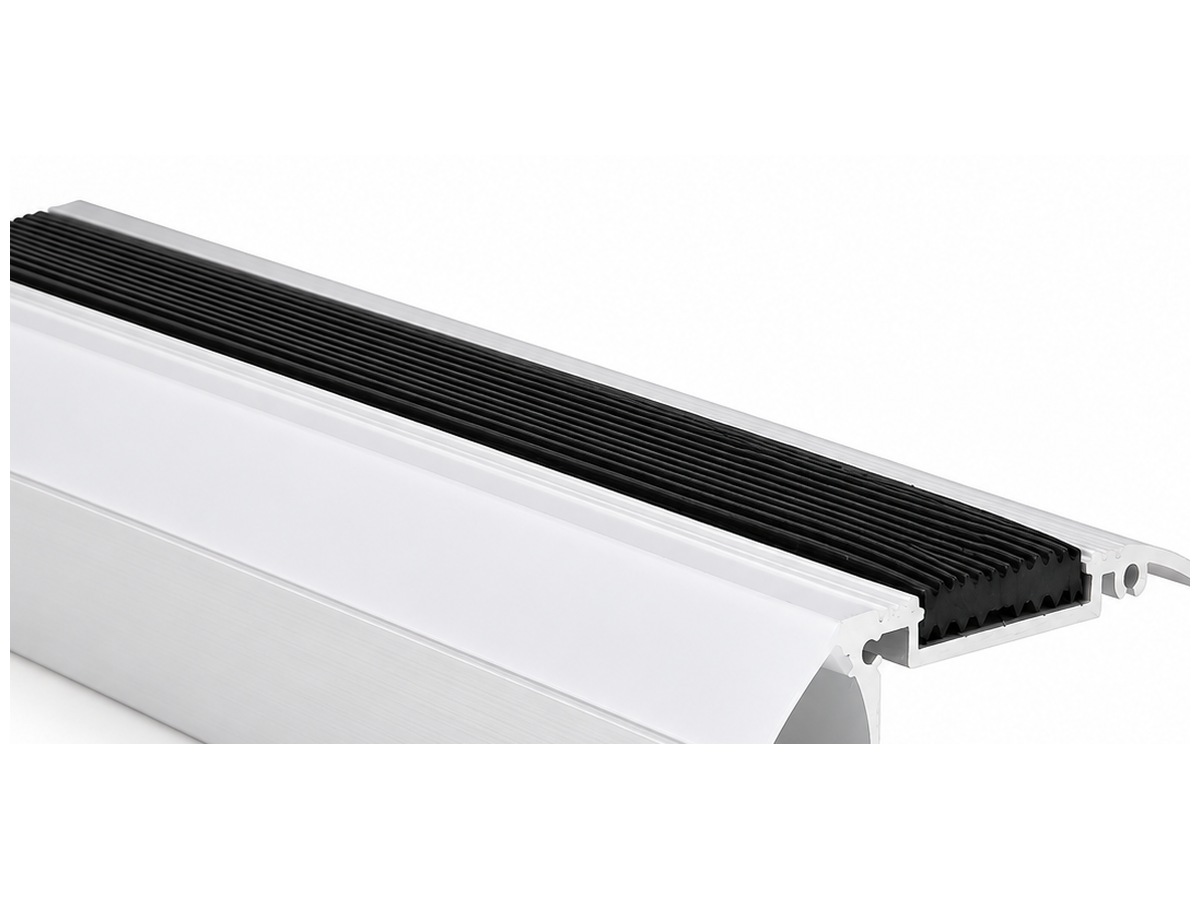
Tread insert

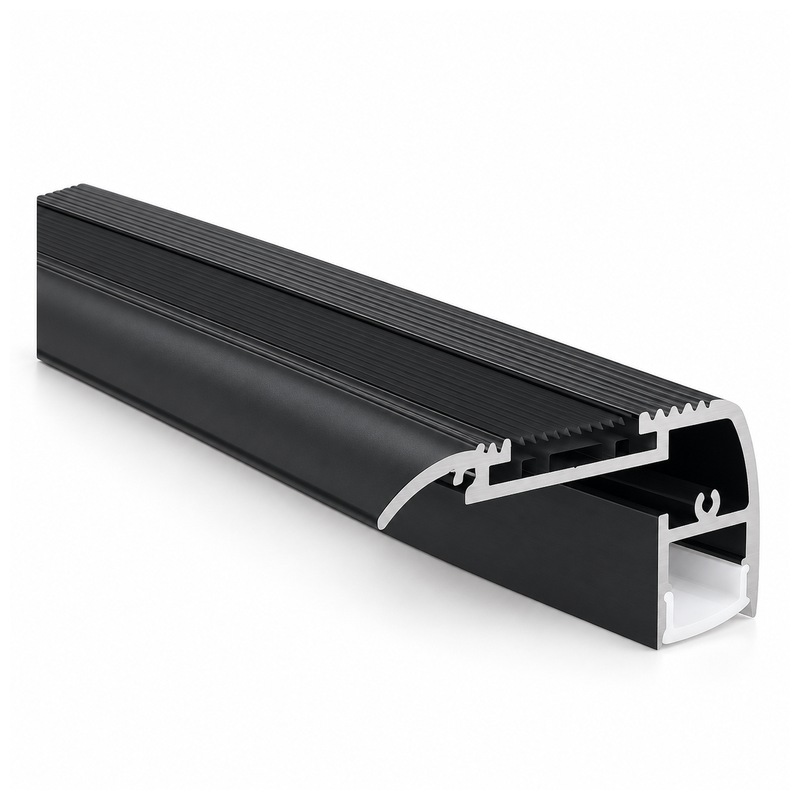
The ST6935 section drawing shows a separate insert seated in the upper groove. Check that insert and its retaining shape against the surrounding floor finish on a physical sample. It is separate from the lower diffuser. Color and texture do not establish material, slip classification or wear life. If your project specifies a rated walking surface, obtain the applicable evidence for that assembly.

Supplier context

Company support and a customer perspective

The company introduction and customer feedback serve different parts of supplier evaluation.

VST as your project supply contact

Start with the company introduction to learn about VST's lighting business. For a stair order, ask the team about tread fit, section identification and the cutting schedule. Evidence of stair-system safety belongs in your project documents, separately from that company background.

Customer feedback on cooperation

This feedback offers a customer perspective on working with VST. Consider it alongside your own communication with the team. Any ST-model test, installation outcome or specific customer statement needs a matching record before you use it as project evidence.

Application fit
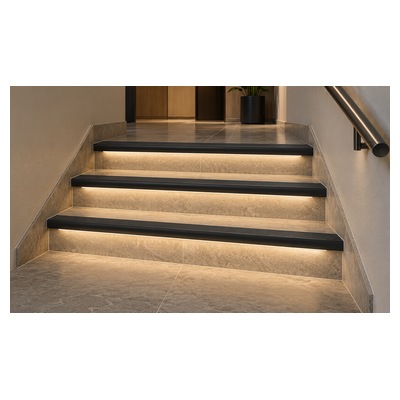
Step-edge applications

Develop the edge detail around the task of each staircase.

Hotel stair landings

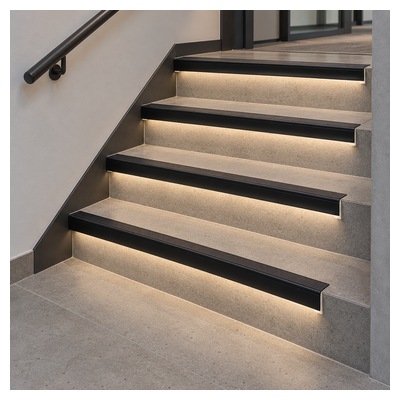
Edge lighting can mark the transitions between hotel landings and treads when ambient lighting is lower. Check the stone or timber edge, glare from below and the proposed cleaning method. A VST nosing-and-cover sample on a representative tread lets you compare the fit with the appearance of the illuminated line.

Theater aisle steps

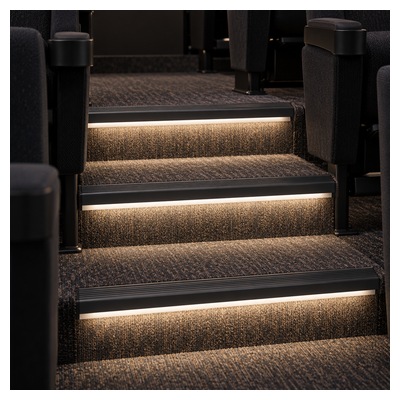
Theater aisles need a readable line at each change in level while the surrounding area stays dim. Specify the carpet transition, acceptable brightness and connection access for the edge detail. VST can discuss a compact lighting mockup for the stair edge. Define any emergency-lighting function as its own system requirement.

Retail level transitions

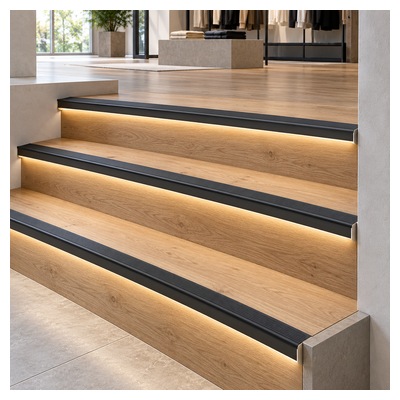
Wide steps between retail levels need an edge detail that fits the shop's floor finish. Measure the overhang and check contrast under daytime lighting. Ask VST to coordinate full-width extrusion lengths with a finish sample, so you can see how the nosing meets timber or tile before installation.

Office circulation stairs

For a concrete office stair flight, keep cables accessible outside the walking surface and attach the section securely to the substrate. Establish anchor positions, riser clearance and the handrail relationship. VST can compare your construction detail with the ST section and discuss room to release the cover after installation.

Indoor mezzanine access

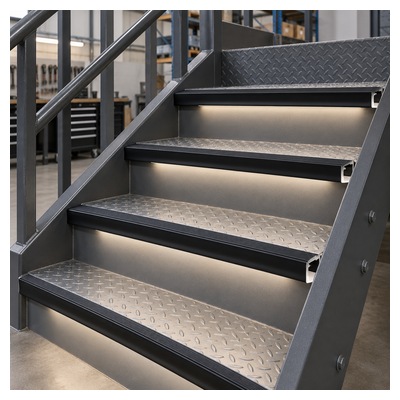
On an indoor mezzanine stair, structural supports and utility cables may restrict the space for an edge light. Check steel tread construction, fixing access and the lead's route to its enclosure. VST can help match an LED stair profile to the outline. Structural and mechanical approvals remain a separate requirement.

Plan one representative tread

Discuss your LED stair profile assembly

Send VST your finished-tread section, covering material, step widths and quantity. We can discuss an ST section and representative sample from those details. Include the surface or safety evidence your project requires.

Section data

Published LED stair profile specifications

The ST dimensions distinguish three stair-edge constructions.
ModelPublished sectionStrip space
ST100W100mm*H8.3mmUp to 15mm
ST6528W65mm*H28mmUp to 13.3mm
ST6935W69mm*H35mmUp to 13.6mm
SpecificationPublished value
Base MaterialAluminum
Diffuser MaterialPC, PMMA
Diffuser FinishClear, Frosted, Milky, Opal
ColorSilver, Black, White
Standard Length2m
Ask VST about finish, covers, cut lengths and part identification for the selected ST model. A custom nosing or insert needs its own scope. List the lighting electronics and required project documents separately in the proposal.
Keep the chosen ST model and finished-tread detail in the specification. Compare edges, lengths and accessories with the sample, then identify the mixed-length bundles. Slip classification and load capacity require evidence beyond those dimensional checks.
Trial the nosing on the finished substrate. Use the project-specified attachment method. With power isolated, protect cable exits from cut metal and seat the cover fully. Inspect terminations after the walking surface is complete.

Cooperation feedback

Feedback on project coordination

Comments on coordination around the stair-edge supply process.
The section comparison showed which profile would project too far over our riser.
Oliver KeaneProject Coordinator, Interior Lighting

Order planning

Planning your ST profile order

Commercial planning for your stair-length schedule.
01

Yes. A representative ST sample can be discussed for your finished tread. Agree the fee before supply; a later order credit requires an explicit agreement. A tread trial does not certify the staircase.
02

MOQ depends on the selected model, finish and supply status. Stocked versions may have a different minimum from customized production. Confirm the applicable quantity for each section in the quotation.
03

Regular production generally takes 2 to 3 weeks, light customization 3 to 4 weeks and extensive changes 4 to 6 weeks. Materials and cutting scope affect scheduling. Confirm when the production window starts and whether tooling, sample approval or development work is scheduled separately. Transit time is additional.
04

Project identification and custom cartons can be discussed. Map each code to its model and length. Agree the labeling scope and cost so the different stair positions are identifiable while their front edges stay protected.
05

Samples require full advance payment by PayPal, Western Union or bank transfer. The usual bulk arrangement is bank transfer with 30% deposit and 70% before shipment. Keep sample and scheduled-order documents distinct.

Product questions

Remaining stair-assembly questions

These questions cover what remains to specify in your LED stair profile package: the channel, walking surface, support and electrical system. Resolve those responsibilities before preparing a representative tread sample.

Yes. Show the tread, riser and covering transition in the photograph. Add tread width, covering thickness and approximate edge projection. For a tight interface, you will still need a section drawing or measured sample before ordering nosing for the whole flight.

No. Surface texture alone gives you no verified slip classification.
QuestionEvidence to request
Slip resistanceApplicable test for the specified walking surface
Attachment strengthProject-approved fixing and substrate detail
Light levelCompleted lighting calculation or measurement
Request the appropriate evidence separately from the section dimensions.

A bare profile is not an emergency luminaire. That function depends on the source, supply, controls and documentation for the completed system. Tell VST if you need emergency operation so the electrical and compliance requirements can be discussed before selecting the channel.

Possibly. Strip voltage, total power, cable lengths and controls determine whether one supply will suit the flight.
LayoutAdditional design check
Several short branchesBranch wiring and voltage drop
Long shared runFeed location and cable sizing
Sequential controlController channels and load limits
The metal extrusion sets none of those electrical limits.

Check the finished tile edge, adhesive buildup and fixing location first. A nosing that sits proud or has an unsupported front lip can leave an unsuitable transition. Trial the section on a finished tread and choose the attachment method for that construction, not from the photograph alone.

Check the cover's release direction against the completed edge and termination. A lower-facing aperture may remain reachable, but a tight riser return or end stop can prevent removal. Include those obstructions in the sample trial before fixing the front profile.
Inquiry Now