VST Lighting Logo

Protected linear lighting

Match waterproof LED tape light to your site's exposure

Specify waterproof LED tape light together with protected ends, connections and power equipment.
  • Choose the construction for the rain or splash exposure at your site.
  • Plan seals for cable entries and cut ends.
  • Allow room for the coating in the mounting detail.
  • Test a prepared sample before permanent installation.

Water exposure

Check where water could reach the tape and its connections

Choose waterproof LED tape light with a stated protection level and a suitable installation detail. Covering the emitters does not automatically seal a cut end or an ordinary connector.
Describe rain, condensation, cleaning and sunlight. VST lists protected tape options; drivers, controls and joints also need suitable protection. Agree which terminations will be made at the factory or on site, then choose the waterproof LED tape and connection method together.
✓

Finished dimensions

Coating or sleeving can change the tape's width, height and flexibility. Check the finished protected strip against the channel it will fit into.

✓

Water entry points

Plan a suitable seal for every cut, cable entry and joint. Leave enough access for those connections to be assembled correctly.

✓

Environmental limits

Specify sunlight, temperature and cleaning conditions. A waterproof description alone does not establish that the tape is suitable for pools, saltwater or chemicals.
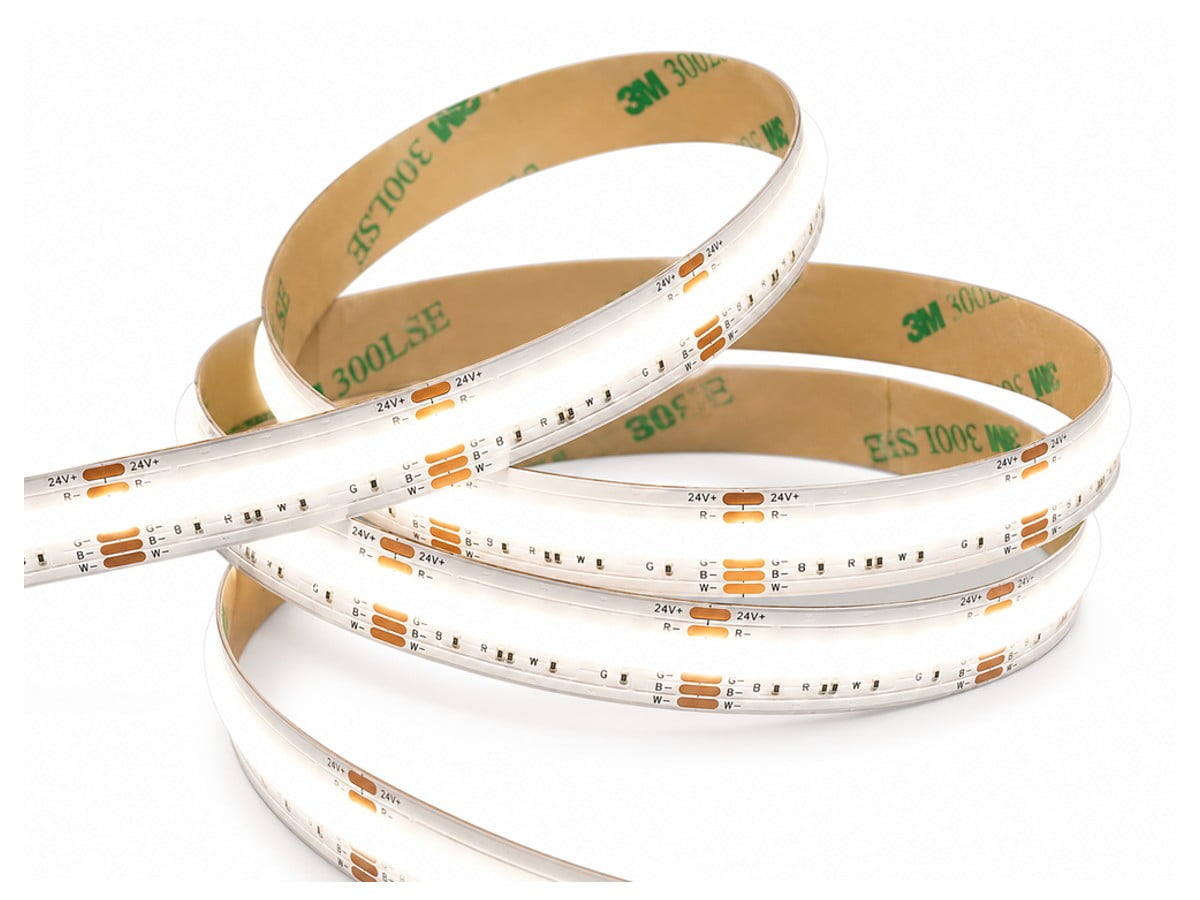
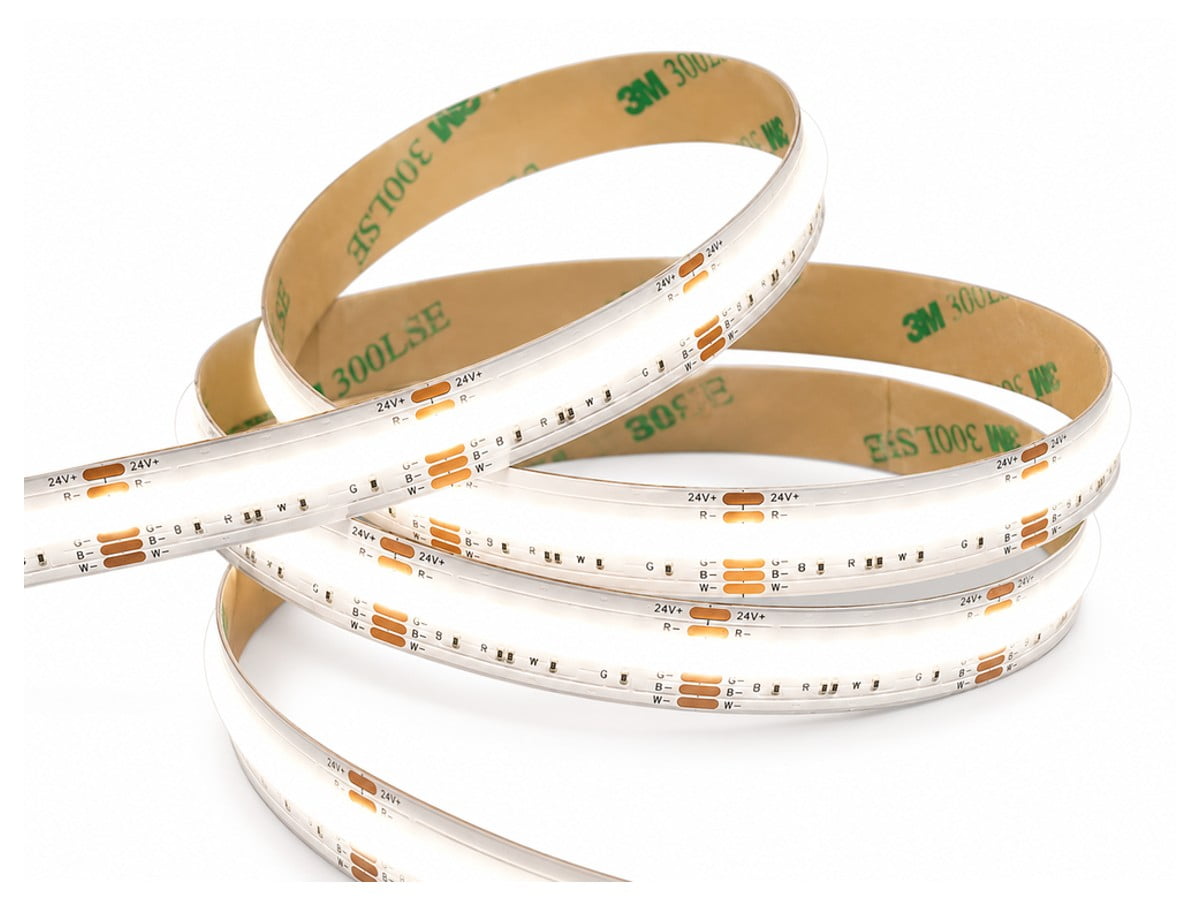
Coiled white LED strip light with orange solder pads on a white background (24V).

Configuration support

Define protection before cutting the installation lengths

VST is a waterproof LED tape light manufacturer that can help plan the source and preparation work for your site's exposure and seals.
✓

Prepare lengths before installation

Prepared lengths and leads can reduce the joints needed on site. Agree them alongside the protection option and the cable route.

✓

Check channel clearance

Engineering checks can identify sleeves, end seals or connectors that will not fit the channel, before the strip is forced into place.

✓

Documentation for the chosen build

Request documentation for the exact protected build. Another model's report or a general factory capability cannot establish its performance.

✓

Packing for installation

Labels and protective packaging can keep prepared circuit lengths and light colors separate, reducing handling mistakes when the parts reach site.

Protection boundary

Protection limits for waterproof LED tape light

Suitability depends on the tape's stated rating, sealing construction and the conditions at the installation.
IP ratings concern defined dust and water tests. They do not establish suitability for permanent immersion, pressure washing, saltwater or chemicals. A sleeve can protect the tape while its ends still need seals; cutting creates new interfaces to protect. When specifying waterproof LED strip lighting, check the tape's rating separately from those of its driver, controller and joints.

Protected tape options

Compare white and color tape for the protected assembly

VST, your waterproof LED tape supplier, can discuss protected versions of these tapes. Specify sealing explicitly; not every reel includes it.

Connections and mounting

Check exposed parts

With VST as your waterproof LED tape OEM supplier, specify the assembly connections as carefully as the protection around the tape.
Shield icon with an orange water drop in the center, symbolizing water protection or safety

Specified protection

Choose a documented configuration for the site's exposure and identify that protection option explicitly on the order specification.

Coiled blue power cord with a twoโ€‘prong plug on the left and a matching socket on the right.

Prepared terminations

Agreed section lengths and cable exits can reduce the number of joints that must be sealed under site conditions.

Blue caliper measuring tool with orange jaw highlights, used for precise measurements (icon style).

Coating clearance

Measure the finished protective construction, including thicker ends and cable transitions, so the channel has room for the whole assembly.

Isometric illustration of a taped cardboard box

Section identification

Labels identify prepared circuits and light colors so the installation team can keep each section in its intended configuration.

Component choices
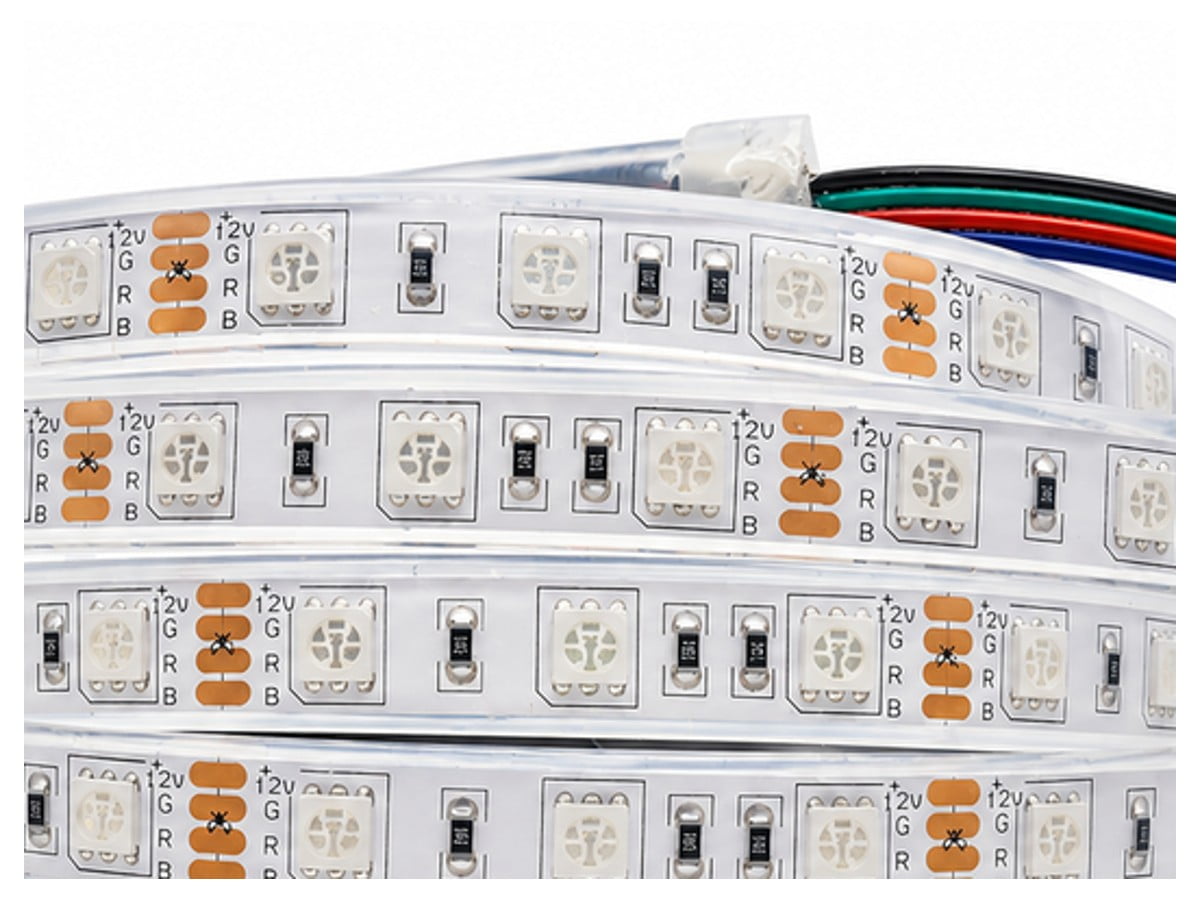
Components in waterproof LED tape light assemblies

Check the light source, its protective layer and the mounting surface separately.
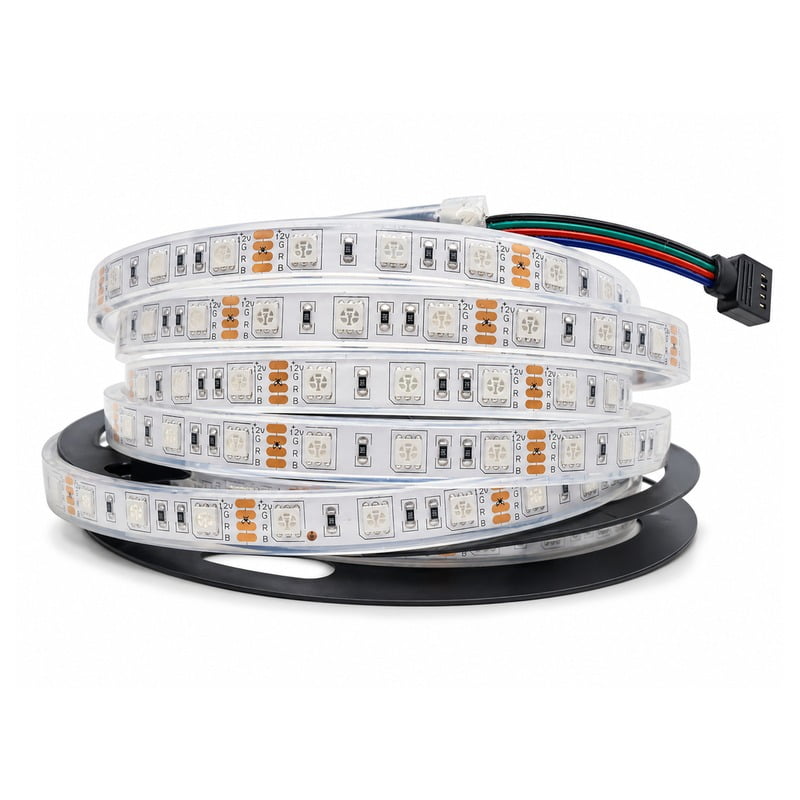
Rolled-up flexible LED strip lights with 12V RGB markings and small surface LEDs.

Primary light source

Protected LED emitters

The LEDs emit light through the protective covering, which can change its appearance. Assess the finished configuration with the channel or cover you intend to use. Comparing exposed tape with a sealed assembly will not show that result. Output and color vary by model, so refer to the applicable photometric data; a photograph of a bright reel does not measure performance at your installation.
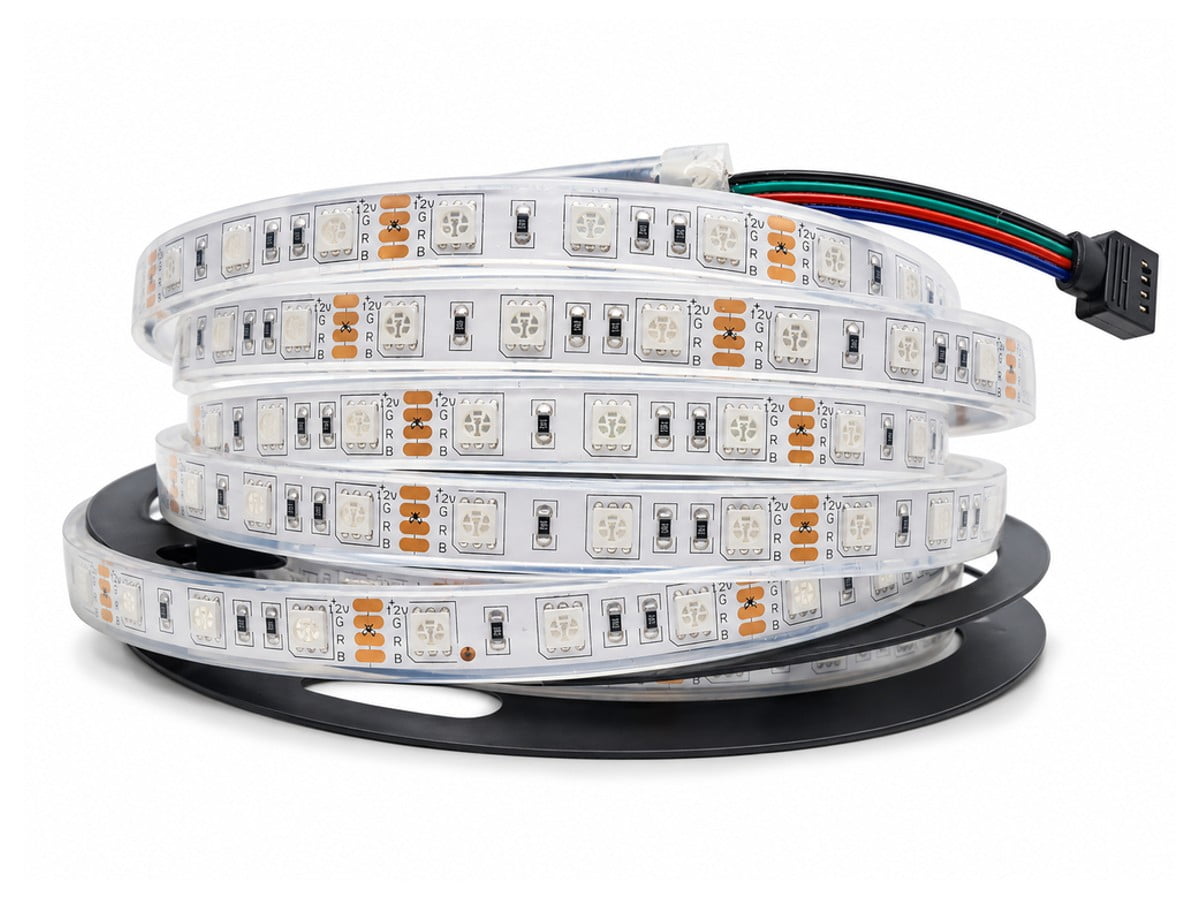
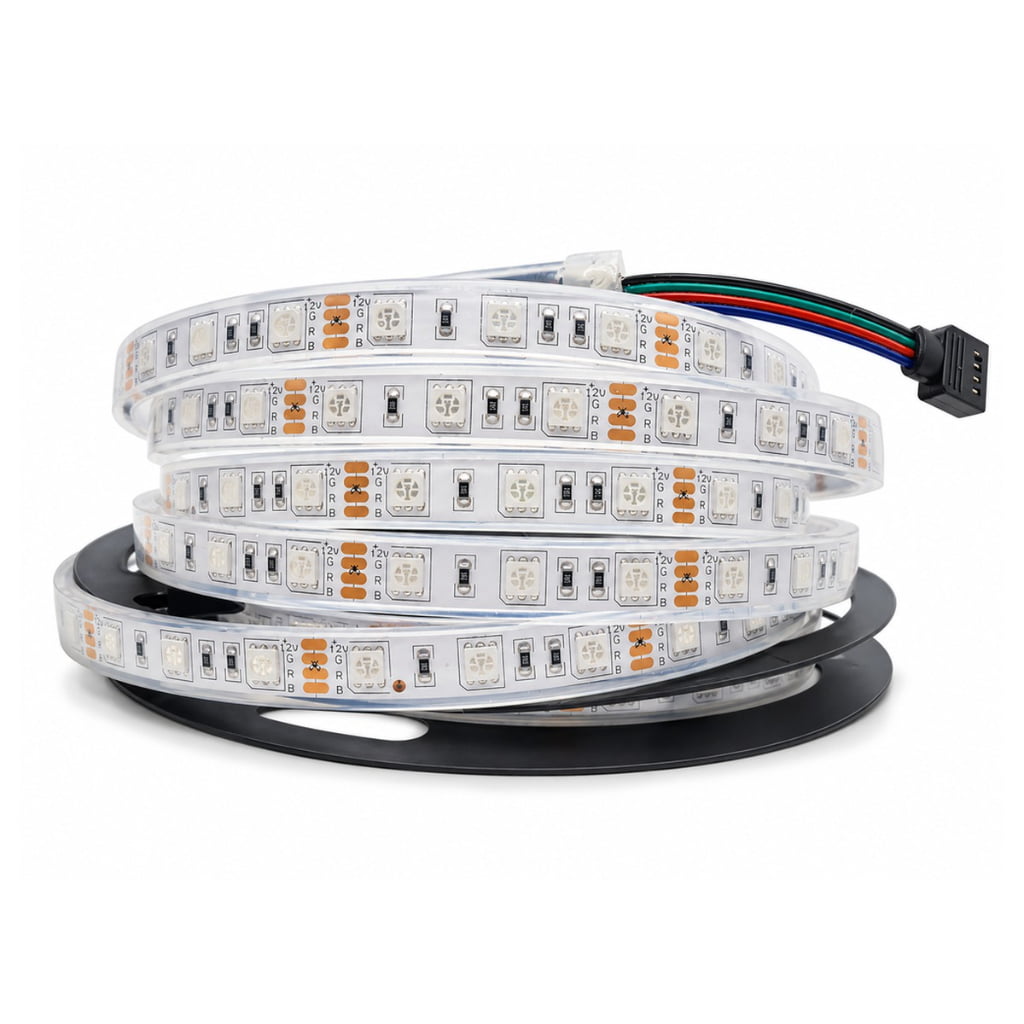
Coiled roll of flexible RGB LED strip lights with a black connector at one end, ready for installation

Environmental barrier

Protective covering

Allow for the protective layer's finished dimensions, bend direction and end seals when choosing a channel. The mounting must leave it intact; a clip that squeezes the covering can damage it. Neither a close fit nor a clear coating proves an IP rating. Check the documentation for the chosen construction to establish the conditions it can withstand.
Coiled white LED strip lights on a white background, ready for installation

Mounting surface

Adhesive backing

Adhesive backing holds the tape in position on a suitably prepared surface. Its grip depends on the surface and exposure, so check whether the installation also needs mechanical support. That support must not stress the protective material. Attachment and sealing do different jobs: even firmly fixed tape can admit water through an exposed end or poorly protected cable entry outdoors.

VST videos

LED strip options and project preparation

Watch the strip overview and feedback on the working relationship.

Explore strip construction options

Use the strip overview to compare constructions, then describe the water exposure and connections at your site so the protected version can be specified.

Customer feedback and project coordination

Hear feedback on cooperation with VST. Agree factory preparation and site responsibilities for your order separately. Waterproof ratings and test results need their own evidence.

Application planning
Match the protected assembly to its setting

Each location needs its own exposure and connection assessment.
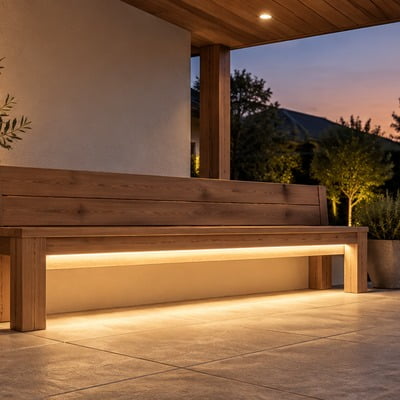
Outdoor wooden bench under a covered patio at dusk, with a warm light strip along the base and a tree-filled yard in the background.

Sheltered patio furniture

Lighting beneath a covered patio bench can illuminate the paving from its fixed front rail. Check wind-driven rain exposure and the mounting surface, then plan the cables. VST can discuss prepared lengths and protected tape; the bench structure and an accessible power location need separate assessment.
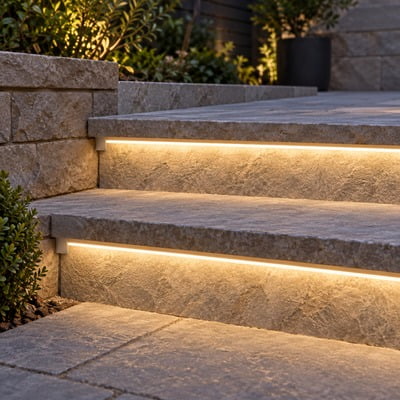
Outdoor stone staircase with warm LED strips under each step, with landscaped surroundings in the background.

Exterior step details

A channel beneath a step nosing can add accent light while keeping tape off the walking surface. Check drainage and impact exposure, leaving access to cable joints. VST can help specify the tape and terminations. Assess any required emergency or code-compliant step lighting separately for the project.
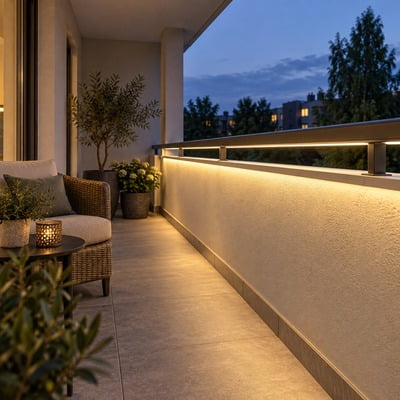
Cozy evening balcony with wicker chair, small table, potted plants, and warm LED railing lights overlooking trees and buildings at dusk.

Balcony interior rail accents

A sheltered balcony can have a separate downward-facing channel beneath the inside rail. Check water paths and wind exposure, with protected cable entries that do not alter the railing structure. Ask VST about prepared tape and connection clearances for evaluation against the actual rail detail on site.
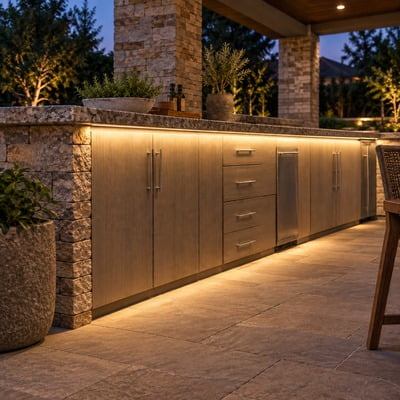
Outdoor outdoor kitchen counter with stone columns, stainless cabinets, and warm LED under-cabinet lighting at dusk.

Covered outdoor counters

Protected tape under a fixed outdoor counter edge can light cabinet fronts or paving. Check cleaning splash and chemical exposure, and keep the light away from cooking heat. VST can help select tape and prewired sections, placing site joints where there is enough access to seal them.
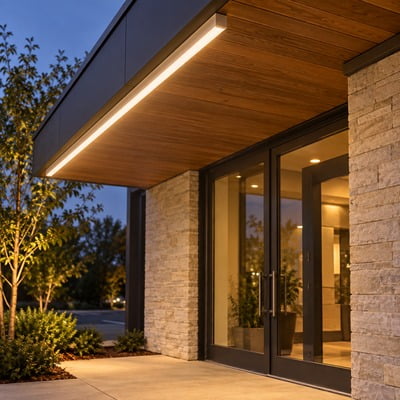
Modern building entrance with stone pillars, glass doors, and a warmly lit wooden canopy at dusk.

Storefront canopy edges

A covered entrance can use a protected light line beneath the canopy to mark the approach. Check runoff and temperatures, including maintenance access along the fascia. VST can discuss prepared circuits for those conditions while your project team establishes suitable locations for protected power equipment and connections.

Describe the exposure

Plan waterproof LED tape light for your site

Send a site photo, run lengths and expected water exposure. VST can discuss tape choices and the sealing details needed for your sample as your waterproof LED tape wholesale supplier.

Protected build requirements

Specify the complete protected construction

IP65, IP67 and IP68 are available protection options. Select the protected construction by its finished dimensions and terminations, with evidence for the configuration and length you will order.
Field Required information for the selected protected build
Protection options IP65 / IP67 / IP68
Protection construction Identify the actual coating, sleeve, potting or other protective structure for the selected SKU.
Finished dimensions Specify width and thickness after protection, including end seals and cable transitions.
Factory termination Define the end seal, prepared leads and sealed cable-entry construction.
Field cutting State whether cutting is permitted and identify the approved resealing method and materials.
Evidence Identify the tested build, length and conditions; distinguish a bare reel, factory-prepared section and complete system.
Application limit For an IP68 configuration, state the tested immersion depth, duration, sample construction and termination method. Do not extend the result to saltwater, chemicals or other untested conditions.
Specify prepared lengths, wire exits and light color, along with protective construction and labels. State the IP option and termination method explicitly. A base model number does not establish either.
Incoming, process and outgoing checks cover the agreed build. Protection inspections and documentation must apply to its actual construction and sealing method; a general quality-control photograph cannot demonstrate them.
  1. Isolate power and establish an appropriate electrical installation method.
  2. Check the mounting surface and drainage.
  3. Use only the specified cutting and sealing procedure.
  4. Protect every cable entry and joint.
  5. Keep power equipment within its own environmental rating and inspect the finished assembly before energizing.

Cooperation feedback

Feedback on protected-lighting projects

Feedback on preparation and project communication.
The preparation list made it clear which joints belonged at the factory and which remained on site.
Lucas ValeProject Engineer, Outdoor Lighting Company

Ordering with VST

Ordering protected tape configurations

Set the protected construction and preparation scope before placing an order.
01

Yes. Request a sample with the protection option, section length and leads you need. Its cost may be credited toward a subsequent bulk order if agreed.
02

Use 500 meters as the general starting quantity for LED tape. VST, your waterproof LED tape light supplier, will establish the actual order quantity from the protected construction and prepared lengths you need.
03

Regular configurations generally require 2 to 3 production weeks. For customized work, the typical allowance is approximately 3 to 4 weeks for light changes or 4 to 6 weeks for extensive changes. These periods exclude transport and unresolved development.
04

Samples require full advance payment; bank transfer, Western Union and PayPal are accepted. For bulk orders, the usual arrangement is bank transfer with a 30% deposit, followed by 70% before dispatch.
05

No. Use the application limits and warranty agreed for the protected configuration. Strips usually have two- or three-year coverage; five years applies only to selected models. For a VST quality issue, send a description with photographs or video to discuss replacement support.

Product questions

Waterproof LED tape light questions

Before preparing waterproof LED tape light for site, settle the connections and exposure limits. The questions below cover conditions that cannot be established by choosing a protected reel alone.

Describe water exposure, shelter and cleaning at the site, and show where the joints will sit. Include a photo to explain mounting and drainage. These details let us assess the installation conditions along with the requested rating.

Treat conditions beyond ordinary rain or splash as a distinct specification task.
Condition Required decision
Permanent immersion Purpose-designed submerged system
Pressure washing Documented jet exposure suitability
Saltwater or chemicals Material compatibility evidence
A general waterproof LED tape light label does not establish these capabilities.

Follow the procedure approved for the tape's exact construction. Products can need different caps, sealants or joint methods. Plan where to cut and how to reach those connections before ordering, so you can use the specified sealing method on site.

No. Water can enter through ordinary profile ends, joints and fixing points. The profile needs a suitable sealing design of its own. A diffuser alone does not establish that indoor tape is suitable for outdoor use.

Check the documented material and temperature limits. An IP water test does not cover sunlight or weathering, particularly on dark metal surfaces. Describe the exposure before choosing the protective construction.
Inquiry Now